Choosing the best rakes for rocks can be challenging, as there are many types of rakes. Some rakes are strong enough to pull rocks while others are not built for rocks.
You no longer have to stress yourself searching for the best rakes for removing rocks in your yard, as you’ll find just what you’re looking for in this article.
Read this article for seven good rakes for dealing with the rocks in your yard.
Table of Contents
7 Best Rakes for Rocks
Some of these rakes will save you a lot of time while others will dig deep into the soil and remove stubborn debris.
1. Bow Rakes

Bow rakes are among the most popular rakes out there. These rakes are commonly used in a wide range of settings.
For example, if you have stubborn debris and tree roots in your yard, bow rakes can easily clear them. Likewise, you can use the rakes for rocks and stones.
The teeth of bow rakes are slightly curved (away from you), so they catch rocks while moving them from one place to another. The teeth are also sturdy.
Bow rakes are the go-to rakes, no matter what your needs are.
2. Landscape Rakes

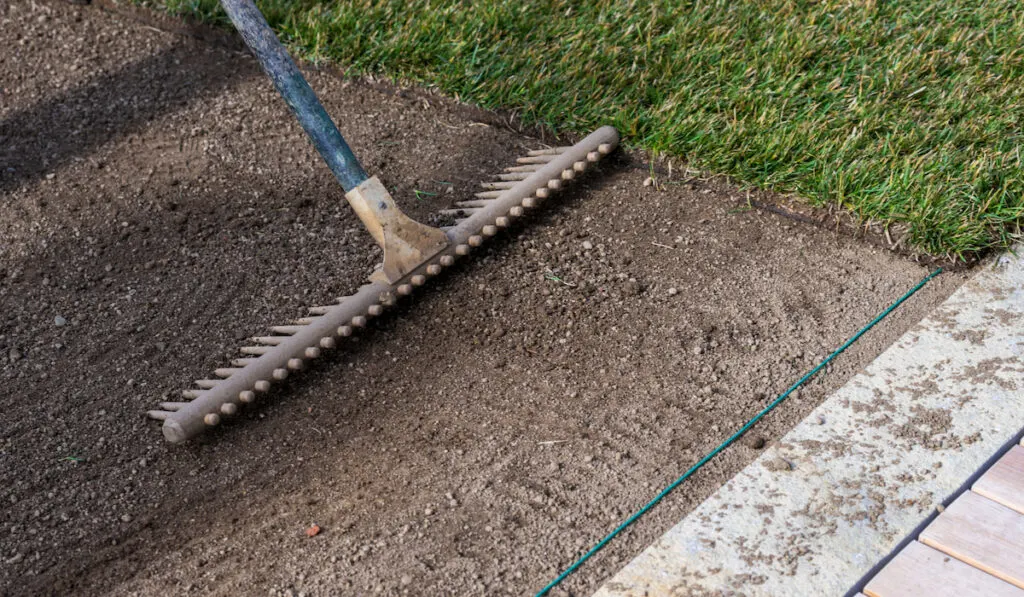
Only looking at this rake convinces you that it’s the right rake to remove all the rocks in your yard. This rake is made for clearing all debris from a landscape.
The teeth are straight and hardy, so they can easily dig into the ground and remove stubborn rocks.
Though you can’t use these rakes to move rocks a long distance compared to bow rakes, landscape rakes will uncover the stones in your yard.
3. Potato Rakes

Potato hoes or rakes are perfect for removing hard rocks from a yard.
These rakes can remove rocks deeply seated in your yard just the way gardeners use them in uprooting potatoes.
The teeth are extra hard and easy to direct. However, these rakes have fewer teeth than other rakes. This means you may not cover a considerable distance when using this rake compared to others.
4. Level-Head Rakes

If the rocks in your yard are deep rocks or the debris is well-rooted, this is the rake for you. The fourteen long teeth of this rake will dig deep into the soil and remove stubborn debris.
The rake is made of steel, and its teeth are very hardy. Therefore, expect rocks to be collected when you use this rake.
The teeth can be straight or curved depending on the type of level-head rake you buy.
5. Road Rakes

Road rakes are perfect for small to slightly larger rocks on paved surfaces. These rakes will not cause deep scratches on the ground, so you can use them on roads.
They have around sixteen teeth and will cover a wide distance in a short time.
Road rakes are not the best for digging into the soil and pulling out rocks. However, they are hardy and will move them.
6. Field Rakes

This is the perfect rake if your yard is large and you want to get things done quickly.
Field rakes usually have around thirty teeth. With this number of teeth, you can save almost half the time using other rakes in your yard.
Though the teeth are plenty, they are also hard. Therefore, you can use this rake for a wide range of dirt and debris, especially rocks and stones.
However, note that you can’t dig deeply into the soil using field rakes.
7. Lawn Rakes

Though these rakes have somewhat flexible teeth and are not the strongest rakes out there, they can also be helpful to you. You can use them to move small, loose pebbles.
If the rocks and stones in your yard are not large, and you urgently need to remove them, you can use a lawn rake.
However, please don’t use these rakes for hard tasks often, or you will ruin their teeth. Only use them when other stronger rakes are not available.
How to Rake Out Rocks From Your Yard
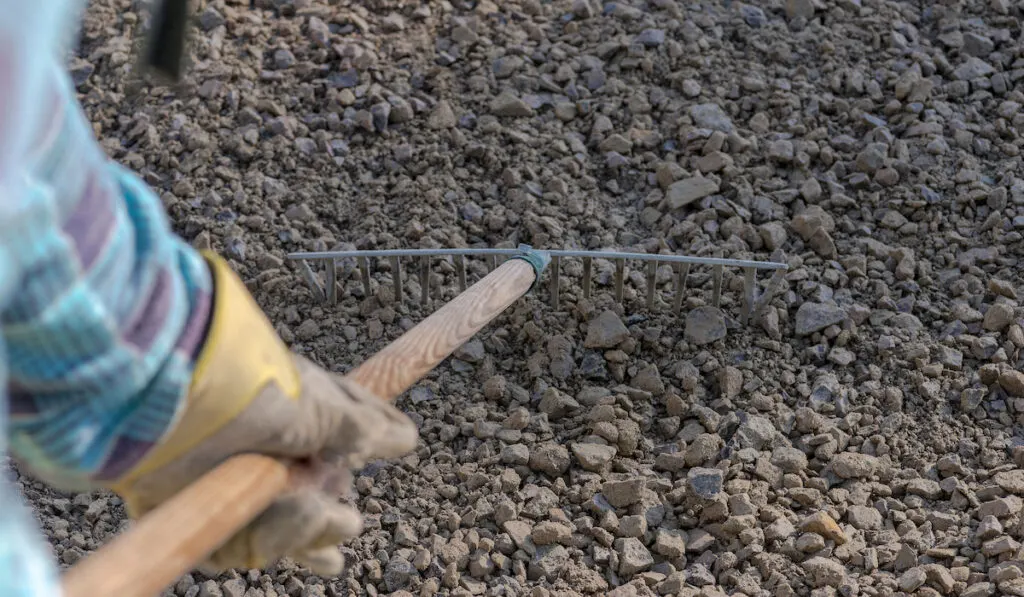
To rake out rocks from your yard, gather your tools, especially your rakes, then carefully inspect the area to know the parts that need clearing.
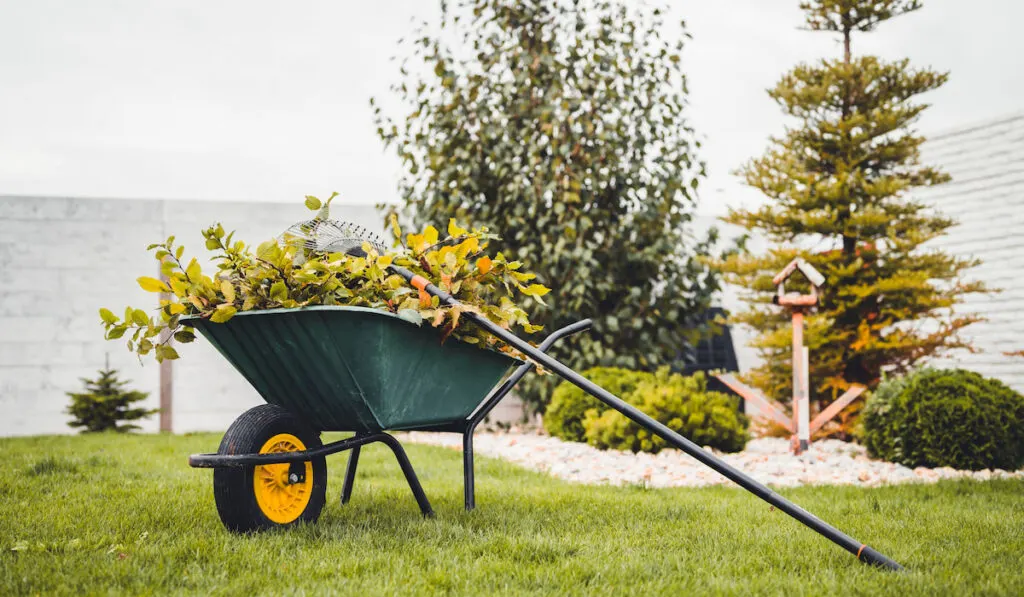
After raking the rocks, move them out of your yard using a wheelbarrow. Ensure that the yard is clean and rock-free before storing your tools.
1. Gather Your Tools

Before you start raking the rocks in your yard, gather the following items:
- Your preferred rake: after going through all the rakes discussed above, make your choice and get one from a store nearby.
- A wheelbarrow: you will move your rocks from one location to another using a wheelbarrow.
- Safety boots: you need boots to keep your feet safe from the rocks and other objects on the ground.
- Gloves: to keep your fingers safe from handling the sharp stones.
The needed items are easy to find. After gathering all that you need, move on to the next steps.
2. Inspect and Prepare the Area

Before you start raking all the rocks, you should know what they are and how far you are clearing. This will help make the yard super clean after raking it.
Check all the corners and edges of the yard for rocks that may have accumulated. Also, check for other debris in the yard so that you can remove that, too.
Some rocks may be covered in weeds and debris. For such stones, you have to clear out the weeds before you can start raking them.
Just ensure that you know everything you will be raking out of the yard so that when you start raking, you can finish quickly.
3. Start Raking to Form Rock Piles

It is time to start raking the rocks using your selected rake. To help you take the rocks easily, rake them into separate piles.
This means you should not rake every rock in your yard into a single pile.
Forming a single pile can be extra stressful, as you have to move rocks from each end of your yard to the center. To prevent this, make multiple piles.
Raking your yard to create multiple piles will also help you map out the yard and plan breaks if need be.
You need to set a target of a specific number of piles to rake before you take a break. The piles can be any size you want, according to the size and number of rocks.
4. Move the Rock Piles
Now that you have successfully piled every rock in your yard, you’ll agree that the next step is more straightforward and the entire process is not as stressful as you think it would be.
You need a wheelbarrow or truck to move rock piles from your yard to the disposal location.
Also, having someone to assist you would be super helpful.
You just have to move the piles one pile at a time. Start from one end of your yard and move across the yard until you reach the other end.
Like before, you can easily take breaks after moving a specific number of piles, according to your decision.
5. Inspect the Area

After clearing out every pile and rock from your yard, take a few steps back and look at the area. Do you like what you see?
The yard will be free from rocks if you do steps three and four correctly.
If you see the need to clear out more rocks or debris, this is the step to do so. After successfully making your yard tidy, you can store your tools.
Final Thoughts
There are several rakes that you can use in your yard. Instead of using weak rakes, get any of our recommendations in this article.
Remember to keep yourself hydrated while raking your yard. Also, make the yard debris-free before you return your rake and other tools.
