When you are starting your first garden, the whole process of germinating seeds can seem like a mystery. Do you need to start them indoors? Can they germinate directly in the soil? Can you plant seeds without germinating?


These are all excellent questions typically asked by new gardeners. And they are reasonable too. We hear so many vocabulary words thrown at us when we start learning how to grow things that it can all be confusing.
Can you plant seeds without germinating? You can plant seeds without germinating them first. This is called “direct sow” where the seeds are put directly into the soil without first sprouting or germinating them indoors.
Table of Contents
What is Seed Germination?
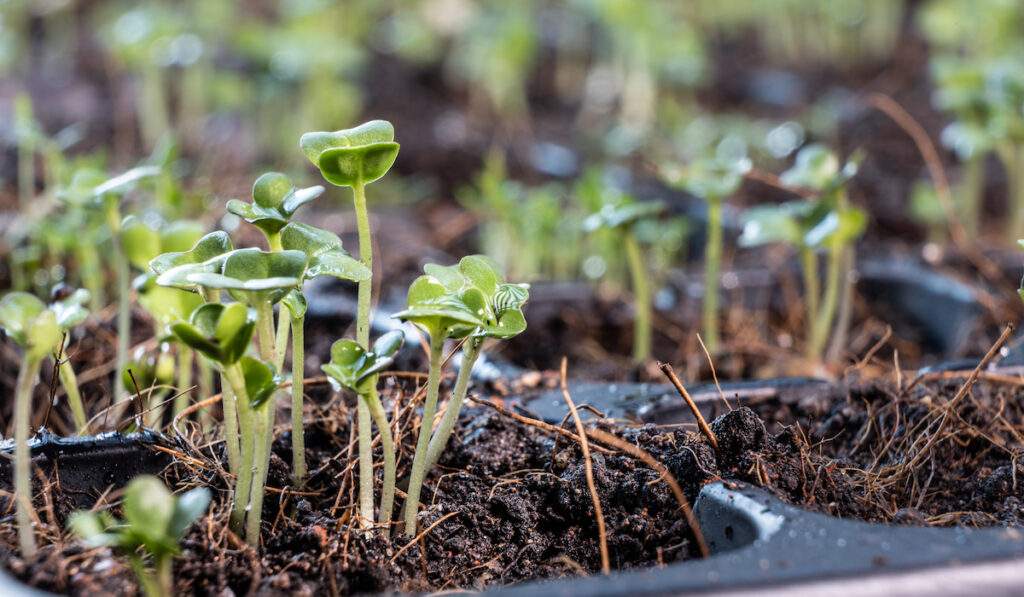
Seed germination is the process of seed growing into a plant. In gardening, we typically refer to germination as the process of taking a seed to a sprout.
Usually, we are looking at germination to tell us that the seeds we are using are viable. It can take a lot of work to grow flowers and vegetables. Even before the seed is ever planted beds have to be prepped, soil prepared or amended and weeds removed. Then there is seed selection and deciding when to plant.
After all of that work, what if your plants never grow? How will you know if it was the seed or something else?
Germinating Seeds in Soil

If you want to germinate seeds directly into your soil, there are a few steps you should take and a few caveats you should be aware of.
1. Prepare Your Soil
You’ll first want to prepare your soil to receive the seeds. Your soil should be nicely tilled and loose so that your seedling can easily establish a root system as it emerges.
You may want to ammend your soil to make sure it has all of the nutrients your seedling will need to thrive. The best way to know what your soil needs is to test it.
A soil test meter, like this one, is a great way to check the pH of the soil. Depending on what you are growing you may need to add it to best suit the plant.
2. Add Water
Your soil should be moist but not soaking wet. The moisture will help to soften the seed and promote germination. During this process, you’ll want to try and make sure the seed never dries out.
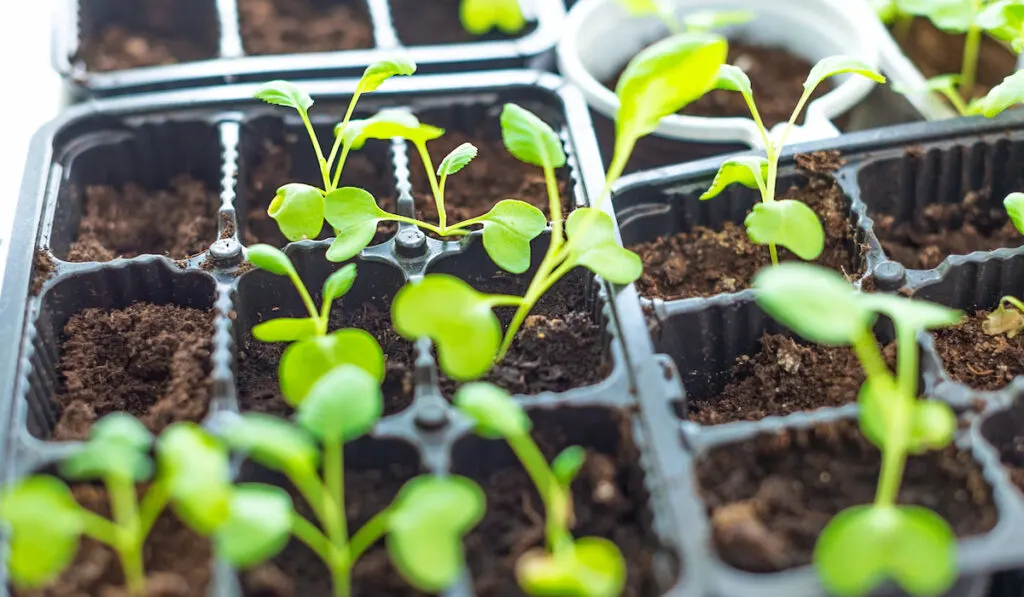
Many seed starting kits offer a lid to help trap moisture inside the container. When you are sowing directly into a pot or garden, one thing you can do to help the soil retain moisture is using plastic sheeting to cover the bed during the germination process.
3. Keep it Warm
Most seeds need a warm environment to grow. Warmth and moisture are the perfect equation to help a seed sprout.
A good rule of thumb is to know the sun requirements of the plants you are trying to grow and make sure that your garden bed or pot is in a location that matches.
It makes sense that if a plant normally grows in full sun, for example, that the seedling also germinates best in full sun.
Keep in mind that if you are planting early or happen to have a cold snap, a chill could kill the sensitive plant. It happens in nature, and it can happen in your garden, so it is one thing to be aware of (and a reason some prefer to germinate seeds indoors).
4. Don’t Plant to Deep
One mistake new gardeners will sometimes make is planting a seed too deep into the soil. Your seed packet may provide you with some instructions but, in general, smaller seeds should be planted closer to the surface, and larger seeds can go deeper.
Of course, planting seeds close to the surface makes them a yummy target for seed eaters, like birds, who may be passing by. A plastic covering, or even light weight bird netting, will help protect your seeds from being disturbed while they have a chance to grow.
5. Be Patient
Germinating seeds outside can take longer than germinating them indoors. There are wider temperature fluctuations. It can also be harder to maintain consistent moisture in the soil.
Both of these factors can lead to slower germination. Don’t stress out if you don’t see seedlings popping up right away, just be patient!
4 Ways to Germinate Seeds Indoors
1. Use Peat Pellets

We’ve all seen these kits in the store. Typically right next to the seed section you’ll find any of a variety of different seed starting kits. The easiest of these is the peat pellet kit.
I mean, what can be easier, you add water so that the pellets expand, put the top on and set it in a sunny place to germinate. Pretty soon, you’ll have perfectly germinated seeds ready to plant in their new home.
Best of all, the peat pellets transfer right along with the seedling so you don’t have to worry about damaging the sprout when you move it.
2. Use a Paper Towel
Many seeds can be germinated simply by gentling sandwiching the seeds in between two layers of wet paper towels. The paper towel is then usually placed in a plastic sandwich bag or even an old tupperware container.
The idea here is just to get the seeds to the point where they have sprouted, and then transfer them to soil for further growth.
This is also a great way to check if the seeds you have are viable. By germinating in paper towel, you eliminate any concerns you might have about soil type or quality.
If you don’t have paper towels handy, any sturdy paper product can work. Coffee filters make an excellent substitute, for example.
3. Seed Starting Trays
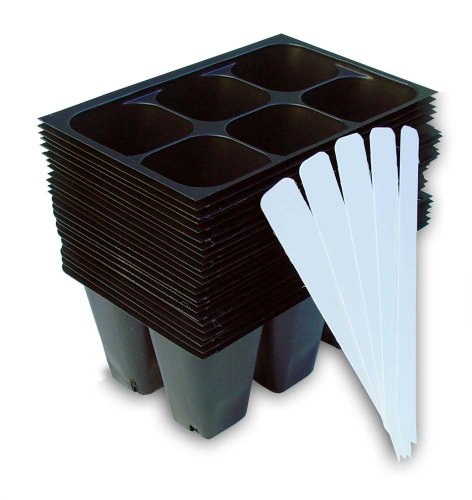
While I already mentioned the peat pellet trays above (because they are my favorite), there are a variety of other seed starting trays on the market that can do just as good a job.
In fact, these can be more economical than the peat pellet system. You will need to take into consideration whether you want a system with a top or not. Drainage is also a factor, you may need a pan to sit underneath them to catch excess water that drains out.
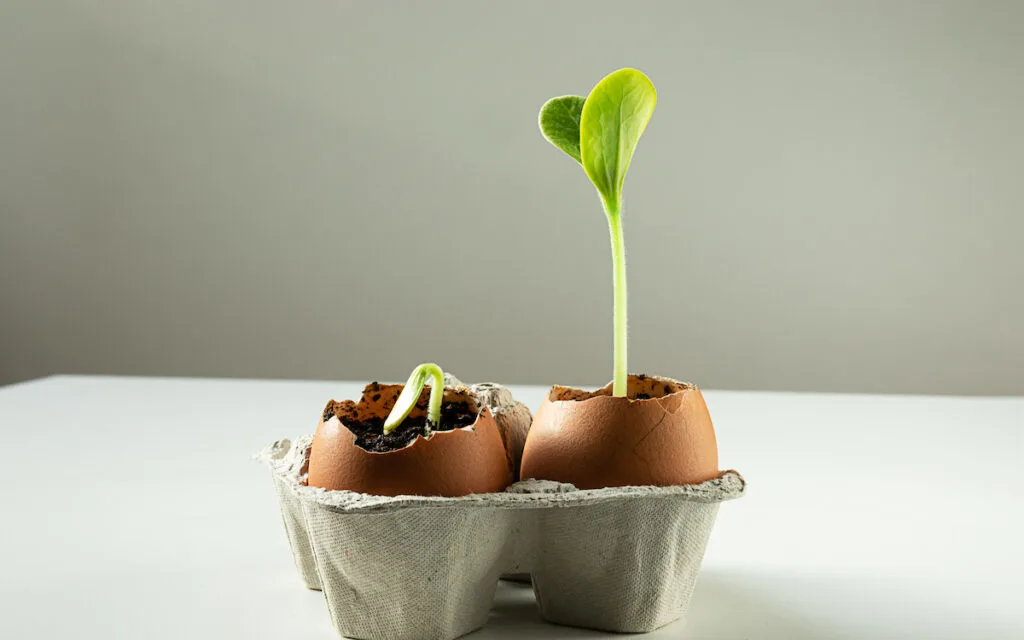
You don’t need a commercial system either. You still need to purchase seed starting soil for most tray systems. You could add that soil to any of a variety of other “containers” including empty eggshells eggs, paper cups, etc.

4. Germinating Seeds in Sand
Sand can be an excellent substrate for germinating seeds as well. It has great drainage, retains heat and is easy to come by. It’s one way to keep your seeds moist and help them to germinate.
You can use pure sand or a 50/50 mix of sand and seed starting mix for this germination method. According to the Indiana Crop Improvement Association, a good result from sand germination is 93% or higher!
Things to Consider

- You should choose a method that will be easy for you to monitor growth.
- When germinating in soil, soil quality can be a factor. Seed starting substrate is usually sterile but your own soil is not. Bacteria can cause problems with germinating seeds directly in the garden.
- If you are starting more than one type of seed, be sure to label them so you know which is which!
- If at first you don’t succeed, try again!