There are few things more relaxing than gardening, except maybe the soothing feeling of aloe vera. For those looking to get a better grasp on their garden and their topical ointments, a great place to start is to incorporate aloe vera into your garden, raised bed, indoor landscape, or vibrant greenhouse.
The aloe vera plant is a fairly simple, partial to full-sun houseplant that has a lot of versatility.
To put it simply, this plant can thrive in a respectable number of conditions, with the understanding that it will require some love from its owner.
Regardless of whether you want to grow it indoors, outdoors, or in a damp basement (though not recommended), we will definitively show you how to grow aloe vera.
We will cover how to grow aloe indoors, outdoors, and what to look out for when nurturing this useful medicinal herb to harvest.
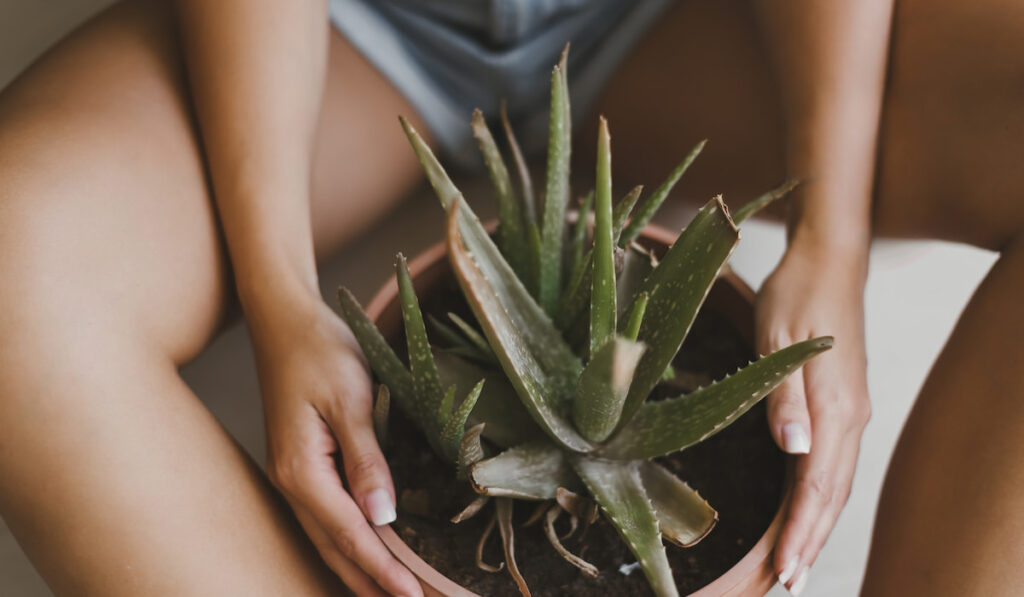

Table of Contents
Growing Aloe Vera (Complete Guide)
When growing aloe vera from seed to sunburn ointment, it is important to get a few things ready prior to sowing.
Aloe is a beautiful succulent requiring only a little water every other week. It should be placed in a pot containing a soil mix designated for cacti or a regular potting mix with some perlite or vermiculite mixed into it.
The ideal pH is neutral (6.5 – 7.5), like a good majority of plants, so you don’t have to save up for a luxury soil mix.
The aloe vera plant has fairly shallow roots, so you don’t need an excessively large pot. In fact, the smaller the pot, the better.
As it begins to crowd the pot it is in, you can then transplant it. Growing it inside a pot that is too big can cause negative effects such as root rot.
Step One — Before You Plant
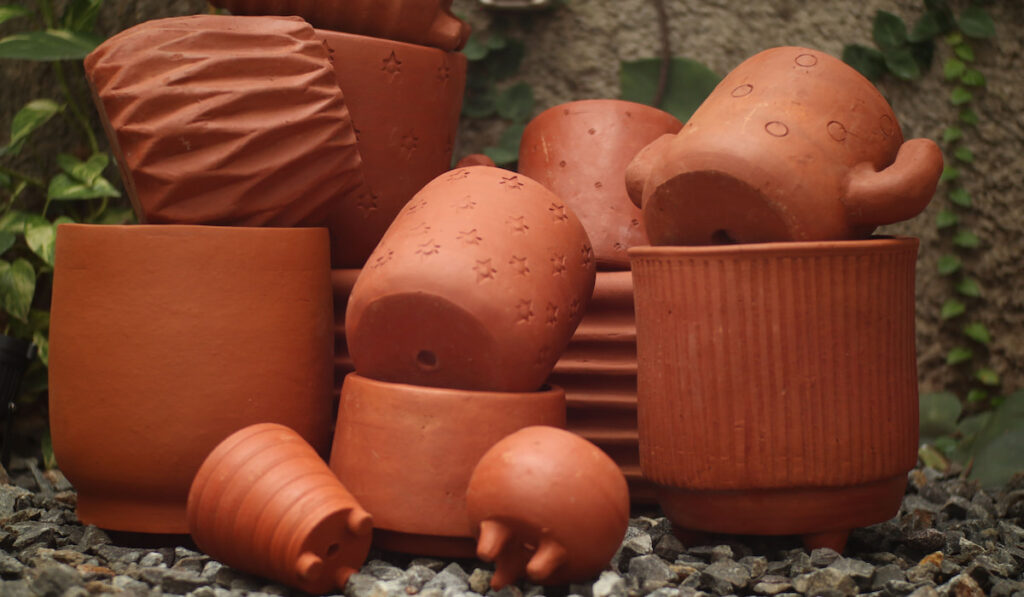

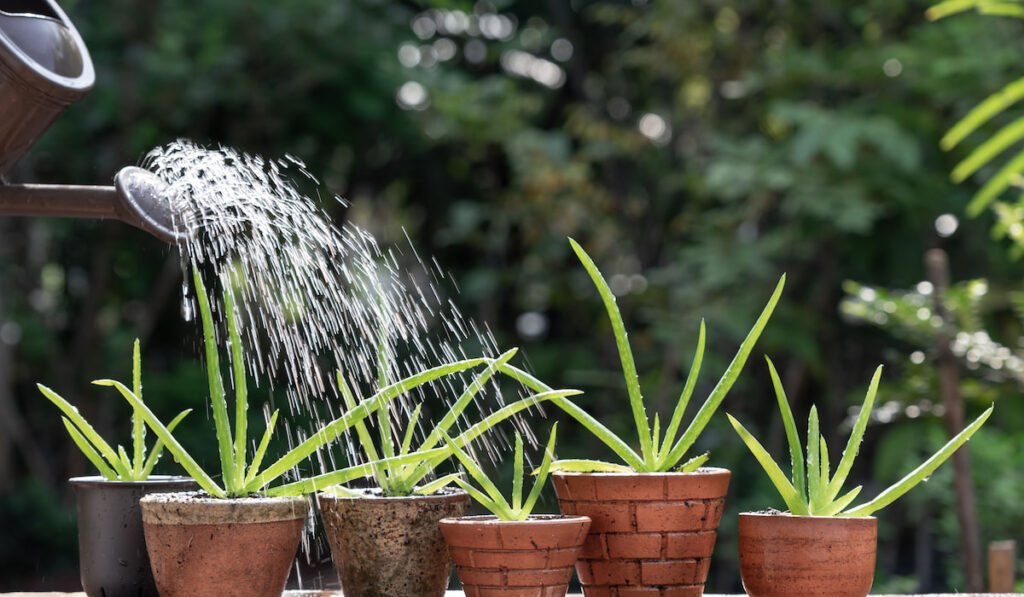
Aloe vera is an incredibly durable plant, but it is susceptible to unfavorable conditions such as cold snaps, high heat, and overwatering. Too much water is our main concern here, so you want to look for a porous pot, or one that has a good amount of drainage through the bottom.
If you don’t have terracotta on hand, other materials can still perform beautifully, but terracotta is just the ideal choice.
If you see a leaf hanging too low or starting to wilt, chances are you are drowning it. The usual response to a sickly-looking plant is to add water. If you are routinely watering it about every two weeks, don’t add water.
Where to Keep the Plant
For indoor growers, it is highly recommended that you put the plant in a window that receives a fair bit of sunlight. Try to identify where you will be able to put the plant where it can get ideal conditions.
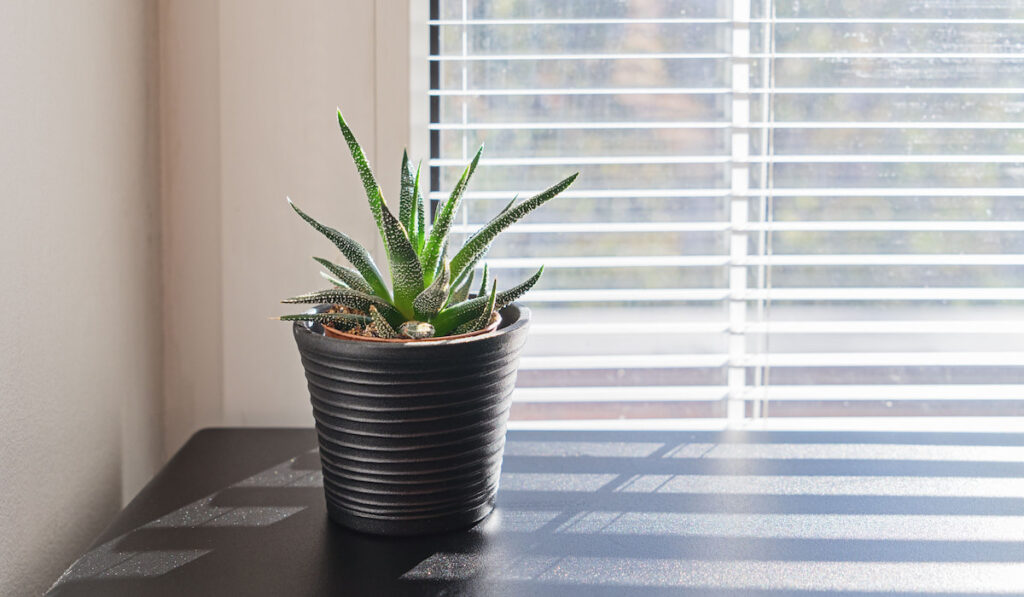
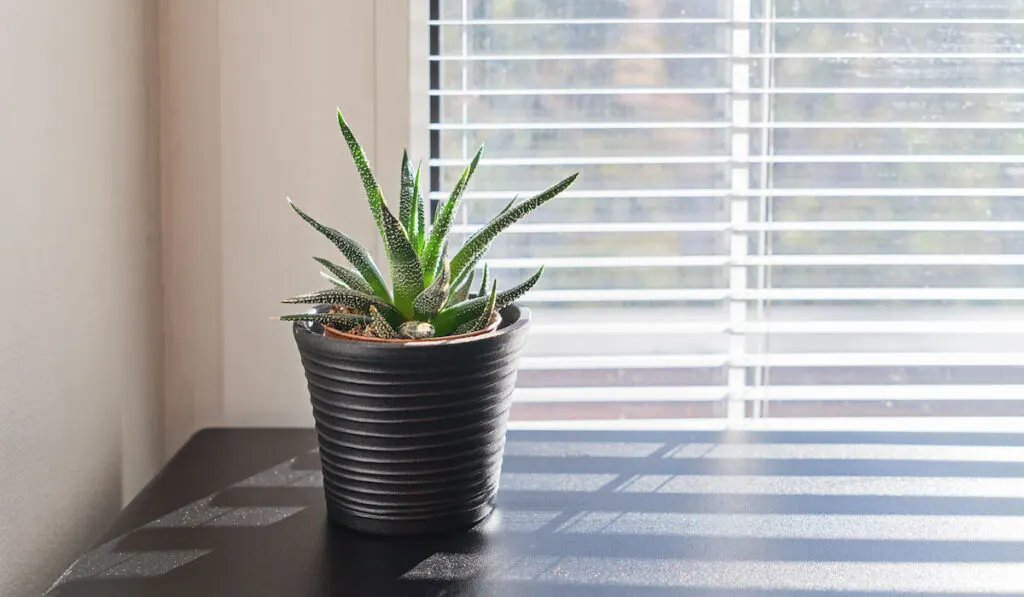
The aloe vera plant is native to North Africa and prefers dry, arid climates. Because of this, you would want to keep it in a room that will stay at 50-80°F.
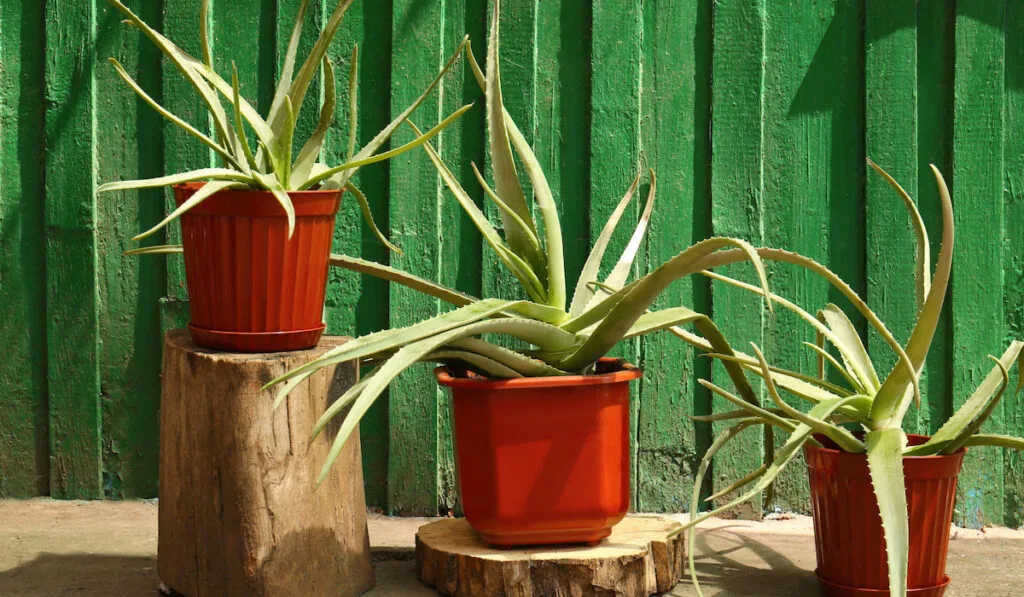
For outdoor growers, you will want to place it in an area with good, indirect light. Despite the fact that it is a succulent, aloe is susceptible to burns should it receive too much sunlight.
This plant is ideal for plant zones 8 – 11, though it can also grow in almost any other place as long as you are mindful of the temperature it is in.
Should the temperature fall below 50°F, you will need to bring the plant in or risk losing it to cold weather. You will want to try and get it into the ground by autumn (if you are in zone 8-11) so it has a fair amount of time to root itself for the summer.
Make sure that wherever you plant the aloe vera, it has some afternoon shade to keep it cool.
Step Two — Caring for Aloe Vera
There is a reason we all love succulents – we are lazy, and the plant does a good bit of the heavy lifting. There’s nothing wrong with that; we are all busy and still deserve some nice foliage to stare at when we return home. This doesn’t mean we don’t need to look after it, just not quite as much.
A big issue a lot of newer gardeners have is they want to make sure the plant is doing well so badly they end up doing more harm than good.
While the gesture is nice, it ultimately ends in a fair bit of disappointment. So, if you are wondering if your plant is in danger, let’s look at some warning signs.

Wet Soil
If you notice that the soil in your aloe vera pot is wet quite often, you should water it less. Everyone has a different scenario, so if your plant isn’t draining as quickly, it may be worthwhile to water less often.
Root Rot
Among all other things, the leading cause of dead aloe vera plants is too much water.
The overabundance of water will start to cause the roots to deteriorate, also known as root rot. This can also be alleviated by using a better-draining soil mix or switching to a terracotta pot.
Thin or Stretched
If you find that your aloe vera plant seems to be stretching itself very thin, you are likely not giving it sufficient light.
The best solution to this is to move the plant to a sunnier window or a more well-illuminated spot in your garden.


Browns Spots or Discoloration
If you begin to notice discoloration on your plant, particularly brown spots, it is being burned, somehow. This could be a result of too much sunlight or even the temperature.
If you notice this, you should do your best to try and keep it better shaded or even move it away from the window or HVAC source.
Damaged Plants
Discoloration could also be a sign that the plant you bought might have been damaged prior to purchase.
More generalized retail stores might sell damaged, overwatered, or dehydrated succulents, so it’s good to make sure you don’t notice any problems before you buy the plant. This is also the benefit of “Mom & Pop” garden shops – they tend to pay a bit more attention to the product.
Step Three — Growing
Now that you know where to place your plant and how to look out for and care for it, let’s discuss some things you can do to further improve the plant. Most of these are more suggestions than guidelines, but they may still prove beneficial.
Outside in Summer

If you have an indoor plant but want to give it a bit more sun, those that live in colder climates can take advantage of a good summer. Place it outside and let it soak up the sun for a few months.
If you live in an apartment, you might consider kicking a window open to let in a bit of unfiltered sunlight. This certainly isn’t compulsory, but it may prove beneficial to your budding buddy.
Ideal Fertilizer
If you want to feed or add fertilizer to the aloe vera plant, be sure to only do so preferably once a year.
Fertilizers can absolutely be useful, but you don’t want to make the soil toxic. The best fertilizer would be one specifically made for cacti, aloe vera, and other succulents. If you can’t manage that, a 10-40-10 fertilizer should work great.
That’s about it for additional growth. This is a very independent plant that requires little more than attention, infrequent water, and a bit of sun. As long as you move it up in pot size as it needs it, you could have a very big and useful plant for many years.
Step Four — Harvesting


So, years have now passed, and you are ready to harvest your aloe vera plant. Fantastic! Let’s take a look at how to extract every useful piece of this plant.
The first thing you will want to do when harvesting any plant is check for fungi, mealybugs, or other damage. When you are finished, you can begin to harvest the leaves.
It is strongly recommended you wait a few years before harvest to let the plant mature. This will give the gel inside more of its natural medicinal properties. So, if your aloe vera is still in a red solo cup, let’s hold off on mutilating it just yet.
To begin, you will want to start by removing the thick outer leaves, typically two or three. When doing this, try to remove them as close to the base as possible.
After rinsing them off and allowing them to dry, begin by removing any of the spikey parts along the outer layer of the aloe vera. After, you can begin removing the gel from inside the leaf. If you can’t do it with your fingers, a knife might be preferable.
There is going to be a yellowish liquid that starts dripping from the plant, this is the latex. If you want to save this for later use, you can get something to catch it. Otherwise, dispose of it and the used aloe leaves.
Congratulations, you have experienced the full lifecycle of an aloe vera plant!
Conclusion
There are plenty of nonmedicinal houseplants that do little more than look pretty. Aloe vera plants, on the other hand, have several medicinal uses on top of their visually pleasing exterior.
Don’t get frustrated if you take the lives of a few small aloe vera plants. They are hardy, but they are also very easy to overwater.
That being said, once you get the hang of this plant and understand what it wants from you – there really is very little to it.