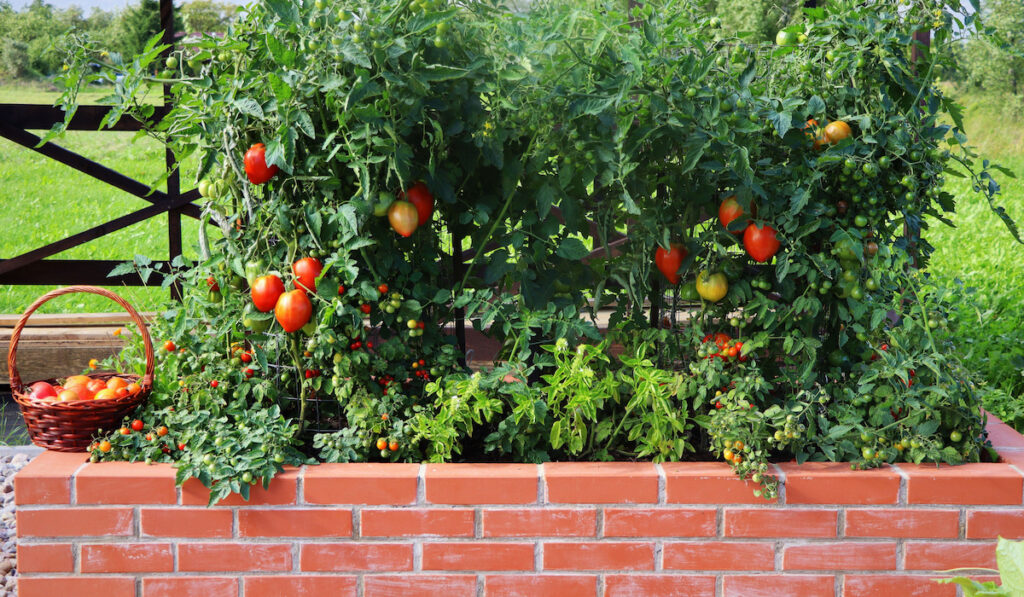
There are a lot of reasons to garden with raised beds. In a raised bed garden, you get more control over your crops and can manage their water and soil levels more exactly.
Raised beds also keep a garden more organized. You can easily put different vegetables or herbs into sections and tend to them as required.
Yes, there are a lot of premade raised gardens available online or at your local home and garden store. However, this can also be a fantastic DIY project for both aspiring and seasoned gardeners.
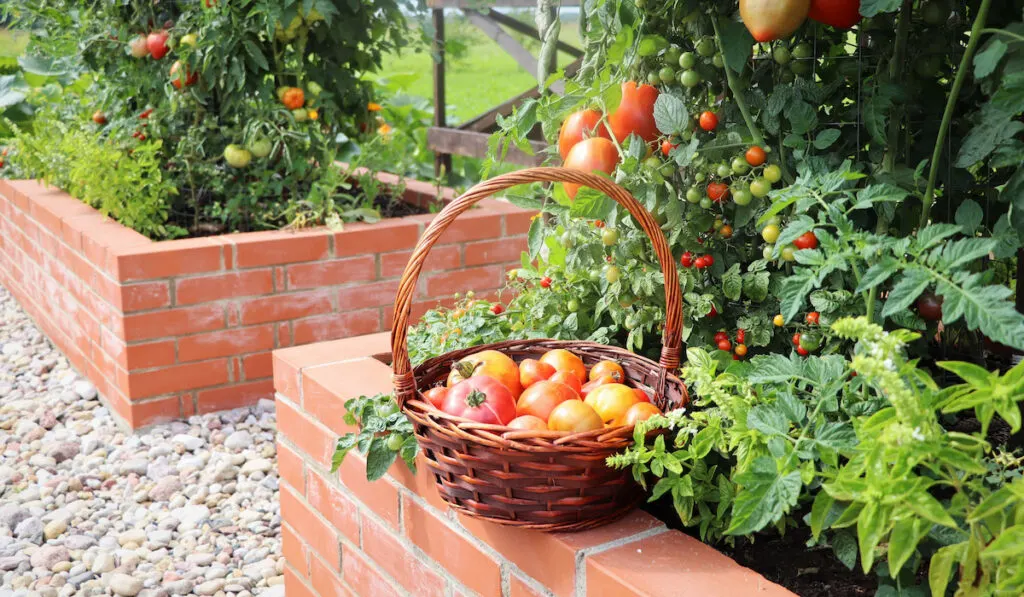
Using bricks is a fantastic option for a raised garden because classic brick will look amazing on any property. It’s also incredibly durable, so maintenance costs will remain low as long as they’re in place.

Bricklaying isn’t something you can just pick up in five minutes, though. It takes some work to get the hang of it, and building a raised garden with bricks properly will be important to its long-term stability and the success of your garden.
Here are 9 steps you can follow to build a raised garden with bricks.
Table of Contents
Step 1 – Get the Necessary Tools
Having the right tools will make building your brick raised garden a whole lot easier. It won’t cost a ton of money either.
Most of the tools are simple in nature and can be picked up at any gardening or hardware store. Here is a list of the things you’ll need:
Mortar mix
Level – for spot-checks as you build
Chalk – for making straight lines
A mortar hoe – for mixing the mortar mix
Mason’s line – this keeps your brick lines straight
Brick-set chisel – for when you need to cut or break bricks for corners
Pointing trowel – for applying and smoothing mortar
Mortarboard – this carries mortar mix as you move around your brick lines
Wheelbarrow – to hold your mortar mix
Joint pointer – to smooth and tidy up your mortar joints
Joint raking tool – a joint rake keeps the bricks bonded more tightly together
Mallet – For hitting the brick-set chisel when you need to cut bricks
This set of tools will get you started and should have you covered for the project. They won’t cost a ton of money and you can use them for other projects around the house or in your garden.
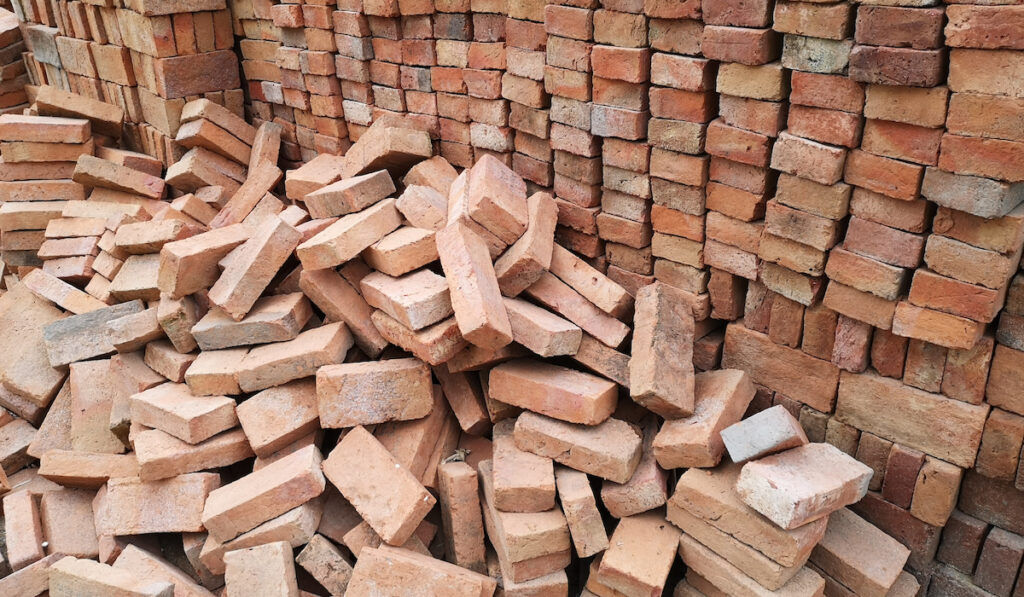
Step 2 – Choose Your Bricks
Gardeners have a lot of options when it comes to brick color, size, and material. Do some research on what type of brick you want and find the best possible price.
While it may be tempting to go low-end on cinder blocks or cheap bricks, just keep in mind that your raised garden will likely be there for years.
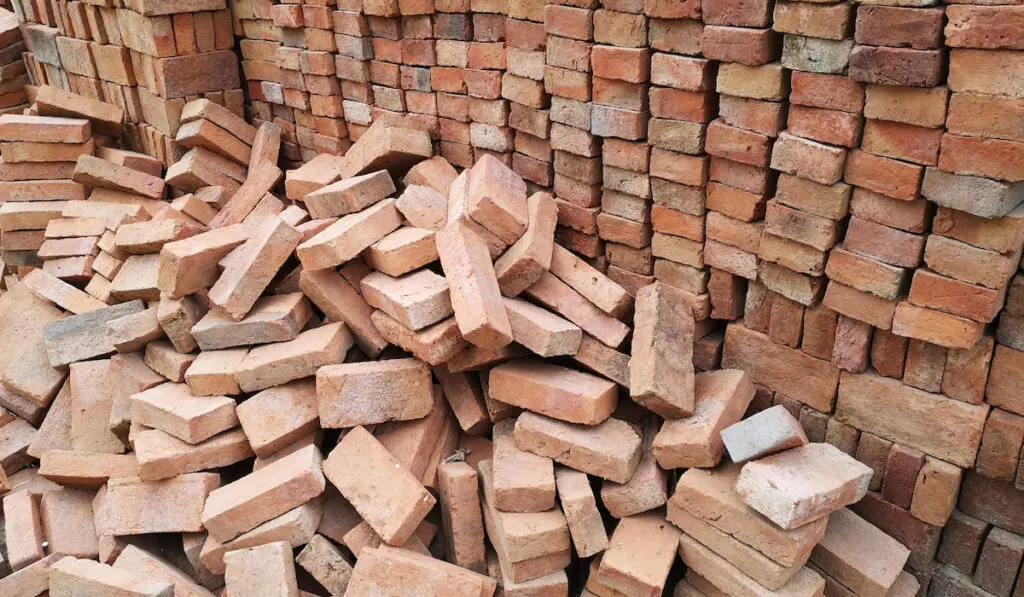
Most people who invest in quality bricks are glad they did. If you live in a brick house, with some work you can find bricks to match your home that will look terrific in your yard.
You can typically find a good selection of bricks at a big-box hardware store chain or through a brick retailer or wholesaler online.
Step 3 – Mark Your Wall
When you’re ready to start building, the first thing you should do is a dry run of creating the wall.
First, use some chalk to mark an even line where you want to build. Lay the bricks on the line and space them evenly to replicate how things will look.
Remember to give a space between the bricks to account for the mortar that will go in. Do your best to make the line so you won’t have to cut bricks on the end.
Mark the spot where the first brick and the last brick are and then move on to the next step.

Step 4 – Setting Your First Bricks
Once you have the lines all set, you can set the first two bricks. Mix a small amount of mortar and then place a brick at each end of the line on 1-inch of mortar. Make it level in every direction.
Once they are in place, use your mason’s line to mark the level line between the two bricks. You can hold the line in place by putting a brick on it.
You’ve got to keep it taught so the line stays level throughout.
Step 5 – Complete Your First Line of Bricks (First Course)
Fill your trowel with mixed mortar. Then, use your trowel to lay down about a 1-inch-thick bed of mortar from the first brick to the end brick. The mortar should be approximately as thick as the width of your bricks.
To prevent the mortar from drying too quickly, lay only about three bricks’ length of mortar and then place bricks down on top of the mortar. Keep progressing like this until the line is complete.
After putting down mortar, use the rake to improve bonding.
Step 6 – Building Your Corners
The number of brick levels (also called courses) will determine how your corners are built.
As you go up, every course will be half a brick shorter than the last because you’re essentially starting each new course with half a brick on the corners.
Set the first brick on the new course going in the other direction on the corner and go from there.
The mason’s line is particularly important here because you want to ensure your new course is started correctly and that they come together at the next corner nicely.

Step 7 – Cutting Bricks to Fill Spaces and Corners
As you move your mason’s line up and build more courses, you’re eventually going to need to cut bricks. This can be done by scoring a line around the brick and then using a mallet and a brick set to essentially chop it in half.
Remember to measure how much brick you need to before you start cutting because it becomes more difficult as the piece of brick gets smaller.
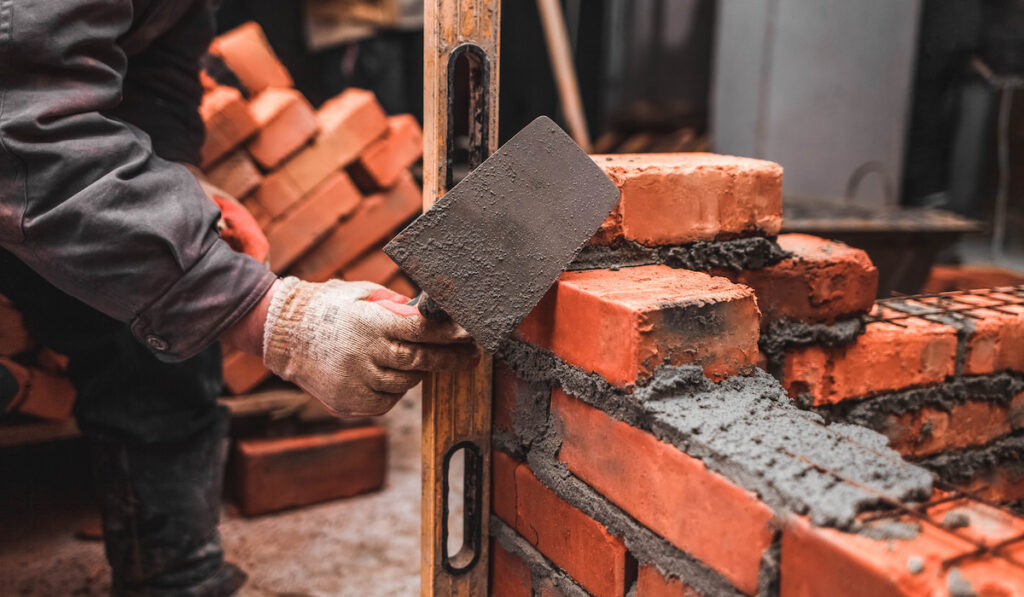
Step 8 – Check Regularly to Keep Your Courses Level
One of the biggest mistakes that new bricklayers make is that they fail to check that things are level as the project progresses. You can’t start it off right and then just assume that things will work themselves out in the end.
Check that things are level as you finish each course and, for peace of mind, in intervals as you lay each course. Put your level down on the bricks and don’t get complacent and think that you can manage without mason’s line in place.
You can either buy a level at a store or download one on your phone for free that will work just as well.


Step 9 – Make Your Joints Look Nice
No one wants messy joints with crumbly mortar ruining the look of their raised garden. With a pointing tool, you can go back and smooth out the joints and tidy things up a bit.
Scrape any excess mortar off your bricks and make the lines as neat as you can. You can also use a wet rag to wipe mortar off bricks to keep things nice and clean.
Once your joints are set and your mortar dries, you’re good to go! Now you can start putting in your garden and your raised beds will be amazing to look at as you work out in the yard every day.