Growing with hydroponics is beneficial and can give you more yield for your effort. If you can, set up a hydroponic system in your growing area for its added advantages.
How do you get started with hydroponics? What do you need? Read the eleven steps in this article to start using hydroponics.

Table of Contents
1. Select the Right Type of Hydroponic System for You
There are many types of hydroponic systems, and people continue to generate more ideas daily. Deciding which method to use is the first thing to do if you want to start your hydroponic journey.
The type of hydroponic system you choose depends on how much you are willing to spend. It also depends on how much attention you can give your hydroponic plants and other factors.
In turn, the type of hydroponic system you build affects the kinds of plants you can grow. Here are some examples of hydroponic systems that you can easily set up:
Wick System
This is the most accessible type of hydroponic system, and you can set it up right now with some scraps at home. The basic idea is to grow plants in a pot or net directly above the nutrient reservoir.
When you set up the pot of the plant above the container below (i.e., reservoir), put a wick in both tanks. You can use as many wicks as you want. You can use mop heads or wool as wicks for your system.
The two ends of the wick will be in the nutrient reservoir, but the wick has to pass through the roots of your plants. This means that you will arrange the wick in an “n” or “M” position so that its upper part is just around the roots of your plants.
This system is quite basic; you do not need electricity to power water into the plants’ container. When the plants are a few weeks old, their roots will be long enough to reach the nutrient reservoir. You can then remove the wicks if you want to.
Drip System

This is just like the drip irrigation method in regular farming. The difference (which makes it a hydroponic system) is that you are growing your plants in pellets or other types of growing media.
Also, you can keep the nutrient reservoir as far from the plants as you want. However, this method needs electricity and some plumbing.
You can construct this system to resemble the wick system so that the plants are directly above the nutrient mix. If you do this, you do not need a return pipe because the excess water or nutrients will flow back into the reservoir.
One slight disadvantage of this system, just as in the case of regular farming, is that if you do not find a way to prevent plant roots from blocking the holes in the pipes, your plants will die of dehydration and nutrient deficiency.
Deep Water Culture (DWC)
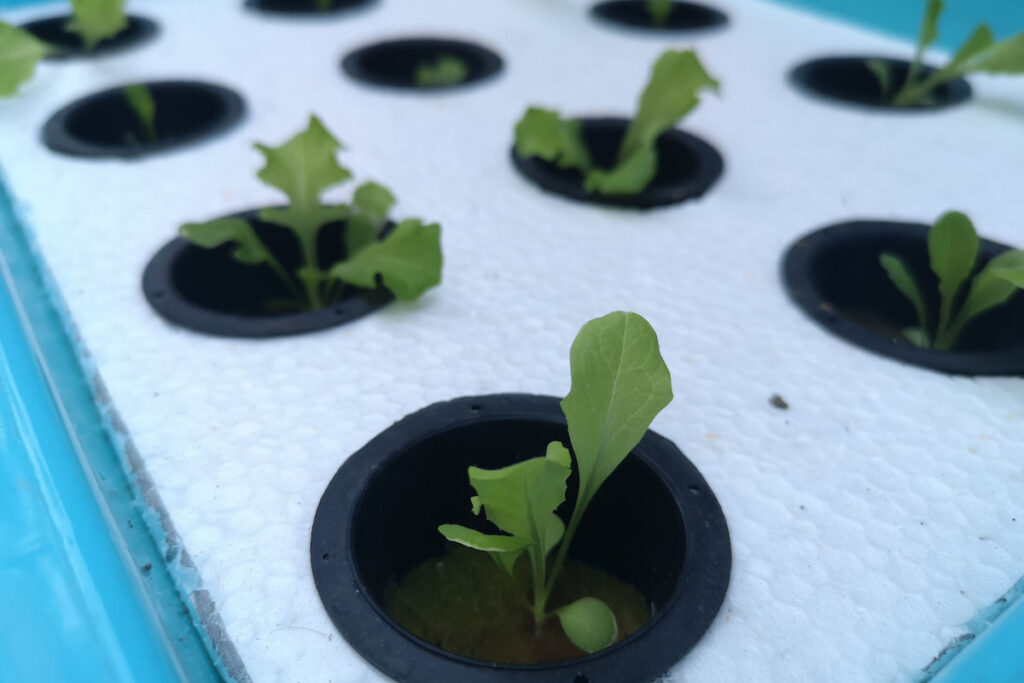

This is one of the most popular types of hydroponic systems, and it is what most commercial hydroponic farms use. In this system, your plants will be directly above their nutrient reservoir.
The difference between the DWC system and the others above is that your plants are in a different container above the reservoir in the other systems. In this one, however, your plants are only suspended with a floater while their roots are completely submerged in the hydroponic solution.
While the idea behind the DWC system is relatively easy to achieve, you’ll most likely spend a lot of money to power your aerators. Also, try as much as possible to prevent light from reaching the reservoir so that microbes and algae do not compete with your plant roots for nutrients.
Nutrient Film Technique (NFT)

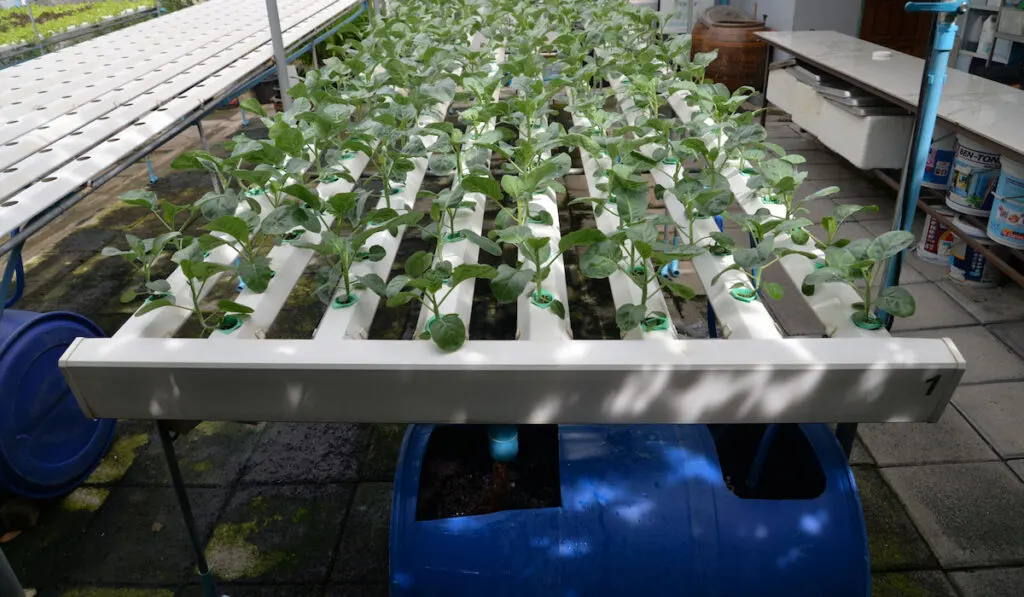
Here’s a slightly more complex hydroponic system that you can build. If you can’t make this system, but like this idea, you can easily buy a pack from any online gardening store.
The idea behind the NFT system is simple: fix the lower end of one or more pipes to a reservoir. Using a pump, pump nutrients (from the reservoir) into the upper end of the pipe so that the nutrients can flow down the trough the plants are in and towards the pipe that goes back to the reservoir.
You might need a firm structure with which you can hold the pipes so that they do not fall or break due to the weight of your plants.
As a tip, use thick pipes or any pipe that can prevent light from reaching the roots of your plants.
Ebb and Flow (E&B)

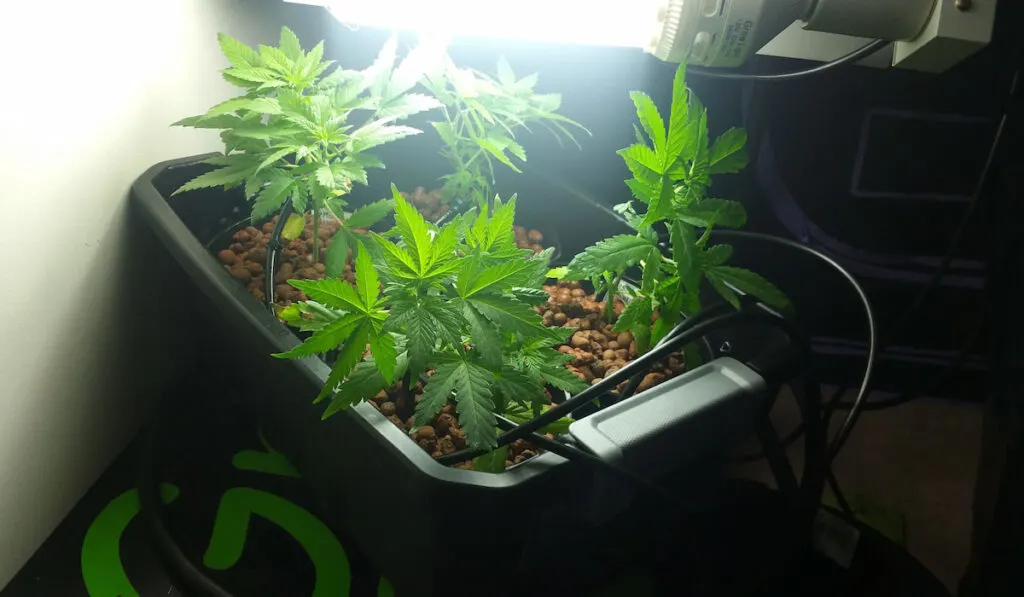
This is a technical hydroponic system that you can challenge yourself to build. It is also called the “flood and drain” system.
As its name suggests, the idea behind this system is to regularly pump nutrients into the separate tank of your plants and send the water back into the reservoir.
The E&B system is different from the nutrient film technique system because, in the latter, the flow of nutrients rarely stops. In this system, however, you pump nutrients into and out of the plants’ tank on a timed basis.
How is the ebb and flow system technical? If you do not construct it well, your flowing nutrients can overflow from the plants’ tank. This usually happens when something (like the roots of your plants) blocks the channel through which water or nutrients leave the tank.
Which type of hydroponic system would you like to start with?
2. Gather Your Tools and Everything That You Need

Some things that you need to start your hydroponic journey and their uses are:
- Grow medium: Pellets, pebbles, or anything solid enough to hold your plants’ roots and large enough to permit water flow.
- Hydroponic fertilizer: You cannot use regular fertilizer for your hydroponic plants because most regular fertilizers do not have readily available nutrients.
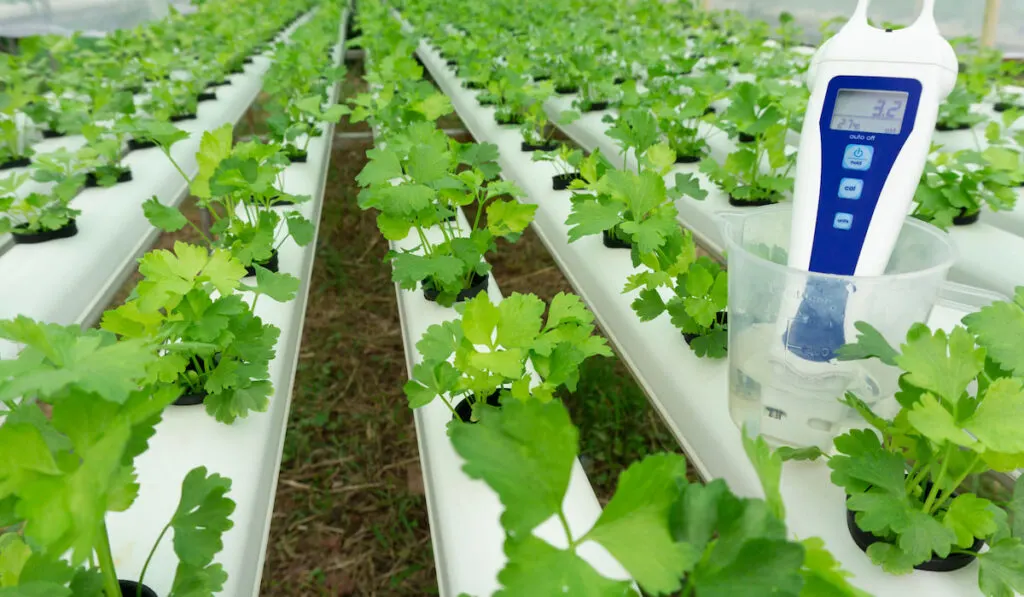
- pH kit: Most of your activities when you finally start your hydroponic journey will be testing and adjusting the pH of the nutrients. You will need a digital meter and solutions to increase or decrease the pH level.
- Aerator: For your hydroponic plants not to suffocate when their roots are submerged in water, the water needs to be fully aerated.
- Grow lights: Most hydroponic systems are set up indoors. If this is your case, you’ll need artificial light so your plants can grow indoors.
- Water reservoir: This is more like a tank where you’ll store the water or nutrients for your plants. You may need to be able to pump into or out of this vessel for your system to function.
- Thermometer: Checking the temperature is very important to know if the room is suitable for your plants or not.
- Plant seedlings: What else will you be planting if not your plants? You’ll transfer these seedlings into the system.
The list above is not complete, as there are a lot of items remaining. The remaining items depend on the type of hydroponic system you choose to set up.
When you have gathered everything you need and the remaining items specific to your system, continue reading.
3. Build or Set Your Water Reservoir

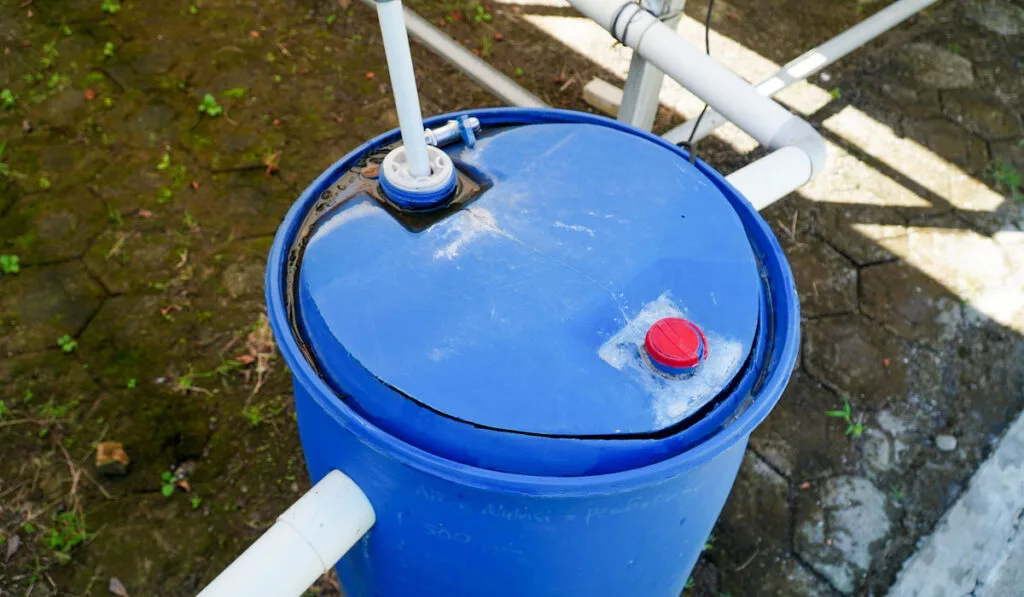
This is a straightforward step. You can use any tank as your water or nutrient reservoir. However, a few adjustments must be made.
Cover the tank. If light can reach the tank, algae and microbes will grow in the tank. Prevent this from happening by covering the tank with paint or an extra layer of plastic just to be certain.
Decide the spot to keep the tank. If you keep it too close to your plants, light and heat can reach it. You do not want to lose control of the temperature in this tank.
If you keep the tank too far from your plants, you’ll need extra money to power nutrients to and from the reservoir constantly.
4. Aerate the Hydroponic System
Never forget this step, as it is crucial.
If you have ever wondered why hydroponic plants do not die when submerged in water, the simple reason is that you aerate the tanks.
Growing your plants in a stagnant and oxygen-depleted environment will kill them. It will also encourage the growth of anaerobic bacteria that harm your plants and produce toxic gases.
You can make use of any aerator from the gardening store near you. You can also go for better aerators found in aquarium stores.
You are not wrong if you buy more aerators than you need. Always have one or two extra aerators in case one in use fails.
5. Light up the Room

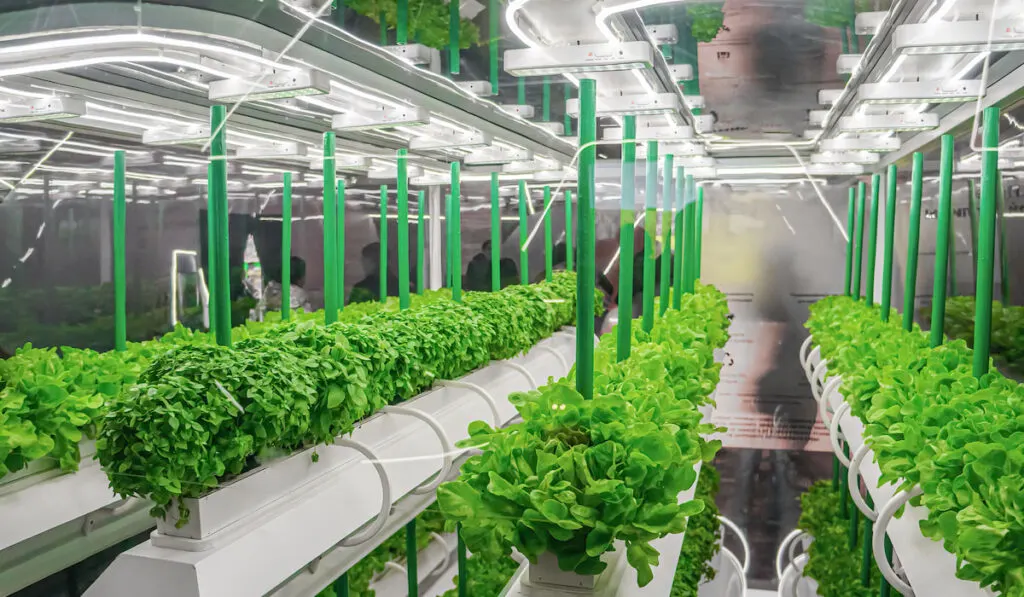
If you are growing your hydroponic plants indoors, ensure that the room is well lit. The general rule of lighting for plants is that your plants should get six to eight hours of sunlight or ten to twelve hours of grow light.
You can use grow lights to fill the hours of sunlight just in case your indoor plants do not get enough sunlight.
Try moving a pot of your plants into the room where you wish to set up your system. Compare the growth of plants growing in the pot indoors with plants growing outside (in the same potting mix).
If the plants growing outside have a faster growth rate, you’ll need extra lighting in the room.
6. Always Check the Temperature and Other Factors

Even though you are preparing to start your hydroponic plants, always consider temperature. Temperature is a key factor, as no plant can grow outside its preferred or tolerable temperature range.
When you decide on the right plant, research its temperature range. Using a thermometer, check if the room is suitable for your plants.
Another factor worth considering is humidity. The room has to be just right for your plants.
If the room temperature or humidity is not suitable for your plants, control the atmospheric conditions of the room. For temperature, you can make use of air conditioners or heaters. For humidity, you can use humidifiers or dehumidifiers.
7. Start With Some Test Plants
You are almost ready to start your hydroponic journey. However, do not be too sure. To be certain if you are truly prepared or not, start with some test plants.
Starting with test plants will prevent you from making costly mistakes, as any error will only affect the test plants and won’t hurt your wallet that much.
The two most important factors to check when you put your test plants into your hydroponic system are fertilizer and pH (after temperature and light).
8. Test the Quality of the Hydroponic Fertilizer
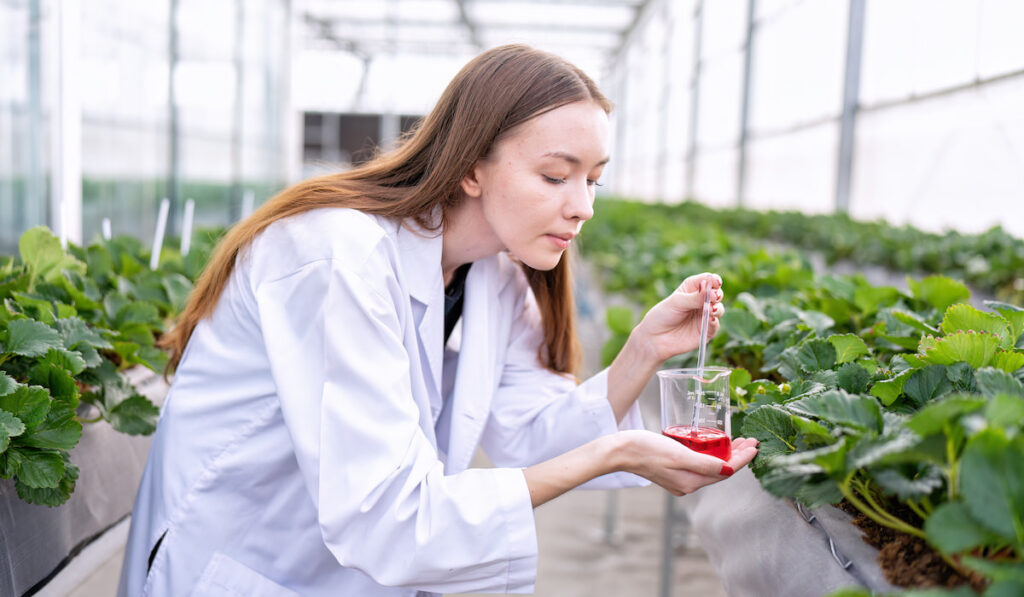

The purpose of this step in starting your hydroponic journey is to know the proportion of nutrients you should add to the reservoir.
If you use too many nutrients, your plants will burn. If you use too little, your plants will have stunted growth. If you use the wrong type of fertilizer for your plants, your plants will not be productive.
Looking at your test plants, check for signs of nutrient deficiency. Also, measure their growth rate and compare it with plants growing in the soil.
If you like the productivity and growth of your hydroponic test plants, you are good to go.
9. Test and Adjust the Nutrient pH
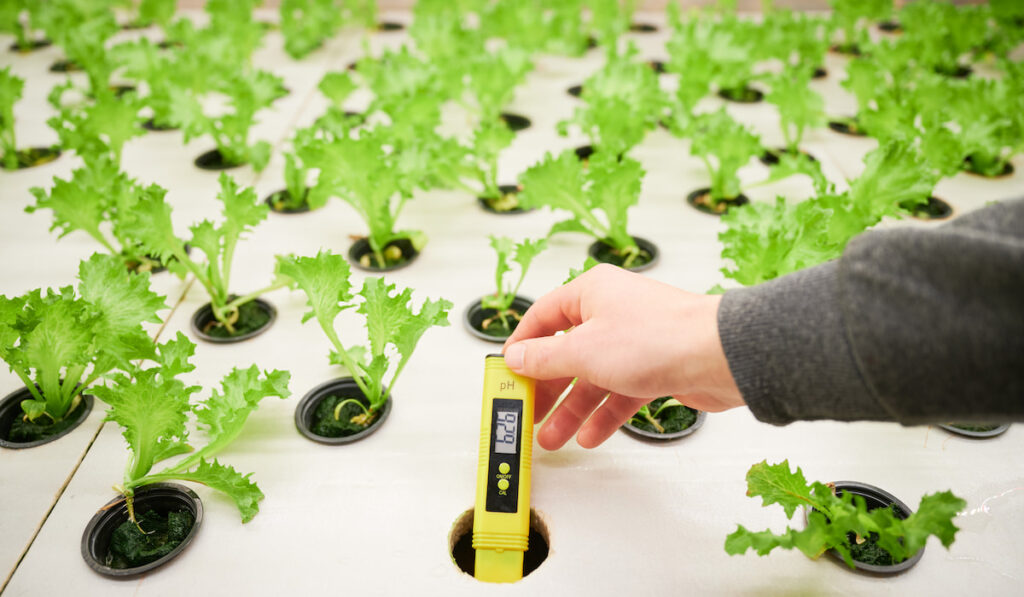
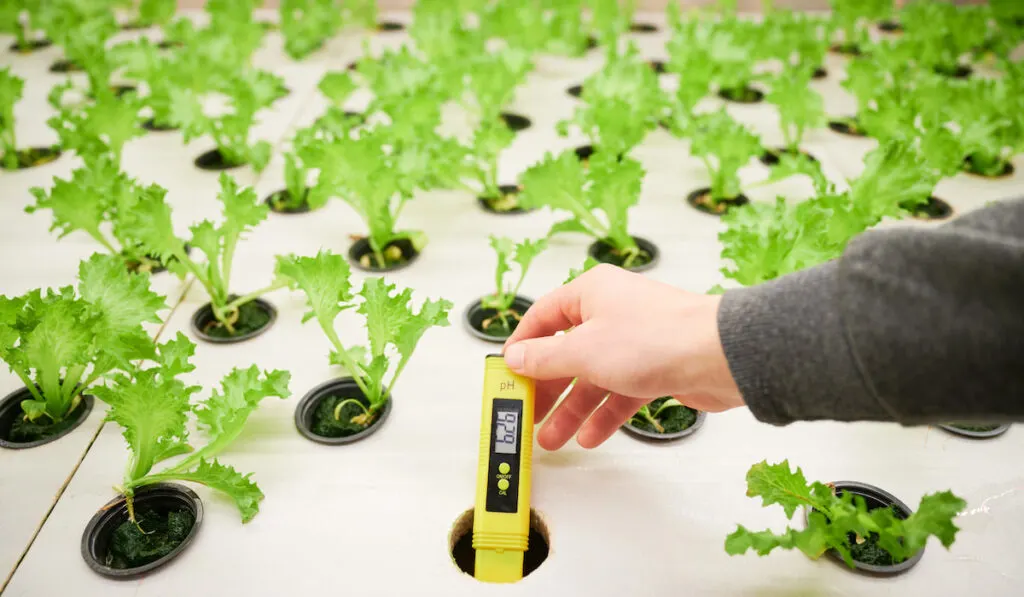
Another crucial factor worth considering is the pH. When plants do not grow at the proper pH levels, they will not collect nutrients easily from the reservoir.
You need a pH meter to check the pH of the water or nutrients in the reservoir. If the pH is not suitable, use any pH-up or pH-down solutions to adjust it.
If you are growing several types of plants in the same system, consider all their pH requirements. In this case, maintain a pH level that intersects all the plants’ required pH ranges.
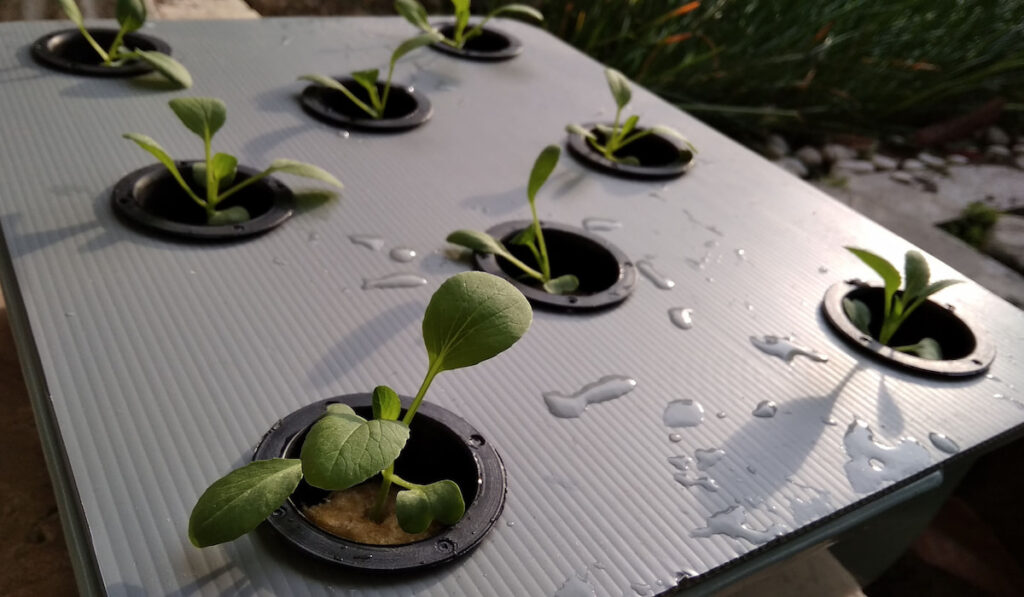
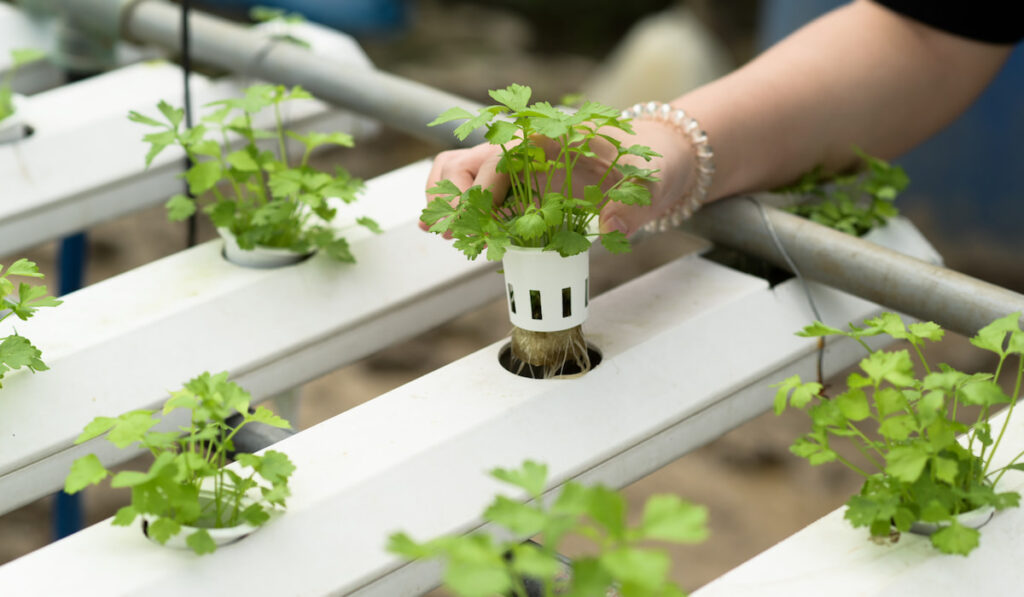
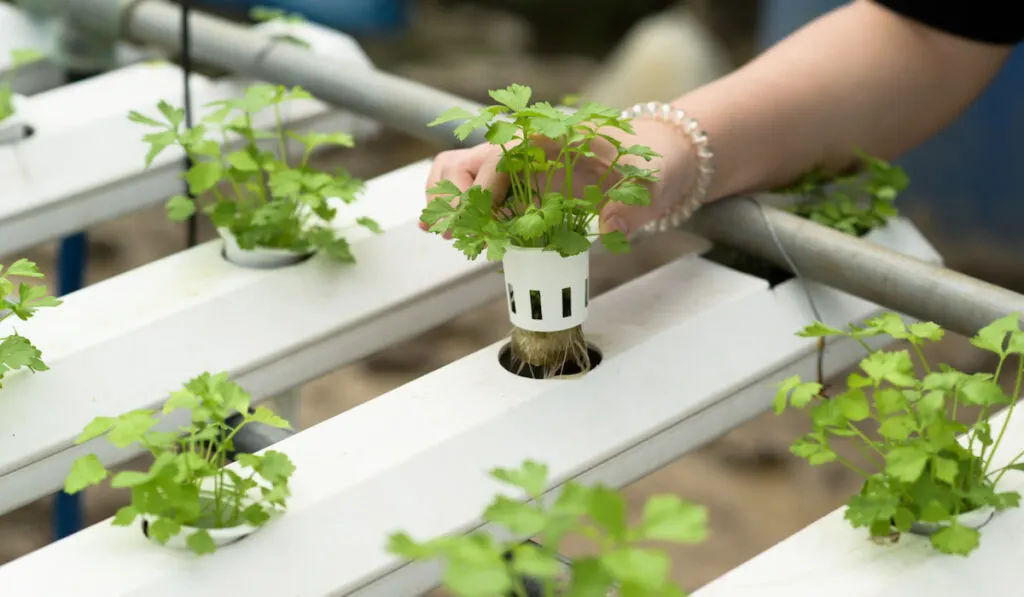
10. Transfer Your Real Plants Into the System
When you are sure that factors such as temperature, light, nutrients, and pH are optimal, you can now transfer all your plants into the system.
Please treat their roots carefully and do not forget to check their growing conditions daily.
11. Make a Few Adjustments According to the Needs of Your Plants

Remember that your plants are growing and will continue to collect water and nutrients from the reservoir. This means that you must constantly add water and nutrients to the reservoir.
Also, check if the plants have firm leaves throughout the day. If you see that the leaves of your plants sometimes appear weak, especially in the afternoon, it signifies that the room is too hot.
When you put everything together and make the minor adjustments necessary for your plants, you are good to go.
Congratulations! Enjoy your hydroponic plants.
Conclusion
Now you are ready for your hydroponic garden! Setting up your hydroponic system is easy. Also, maintaining your plants is easy so long as you consistently check their growing conditions.
Remember to start with some test plants to avoid making costly, large-scale mistakes.